User Guide
-
The Basics
Information about the basics you need to know to get started with Quoll Writer.
- Getting Started
- The Project Window
- Your Projects Window
- Projects Overview
- Chapters Overview
- Assets Overview (Characters, Locations, etc.)
- Scenes & Plot Outline Items
- Notes
- Tags & Tagging
- The Idea Board
- Warm-ups
- Searching
- Full Screen Mode
- Linking objects together
- Useful keyboard shortcuts
- Choosing a User Interface Language
- Changing the names of objects
- The Options Panel
- Achievements
-
Advanced Topics
Information about more topics such as importing and exporting. Using the Problem Finder or setting an edit position in a Chapter.
-
Editor Mode
Details about using Editor Mode to work with others to get feedback on your work.
Scenes & Plot Outline Items
Scenes and Plot Outline Items allow you to add markers to important locations within your Chapters. A Scene is designed to mark the start of a transition to another part of the Chapter, a Plot Outline Item is designed to mark an important event that occurs within the Chapter. Plot Outline Items below a Scene are automatically added to that Scene. As the text changes in the Chapter the position of the Scenes and Plot Outline Items will move as necessary. Any items added will appear in the left hand column of the Chapter as shown below, they will also be displayed in the Chapter list.
Items can be moved via drag-n-drop but only within the column itself. Scenes and Plot Outline Items in the Chapter list cannot be moved.
An example Scene is shown below:

An example Plot Outline Item is shown below:
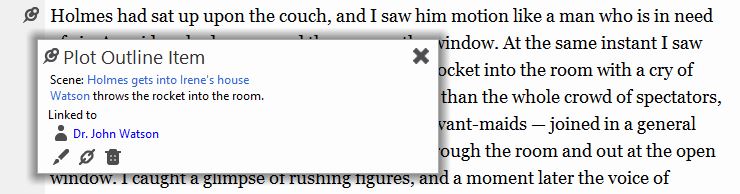
Click the icon to edit the item, to link to other objects and to delete the item.
Linking Scenes & Plot Outline Items to other objects
Scenes and Plot Outline Items can be linked to other Scenes and Plot Outline Items as well as other objects, see linking to other objects.
Viewing a Scene
To view a Scene you can either:
- Click on the Scene in the Chapter list.
- Right click on the Scene in the Chapter list and select View.
- Click on the in the left hand margin for a Chapter.
Adding a new Scene
To add a new Scene you can do one of the following:
- Right click anywhere in a Chapter tab, select New then Scene from the menu.
- Click on the icon in the Chapter toolbar and then Scene.
You will then see the popup below:
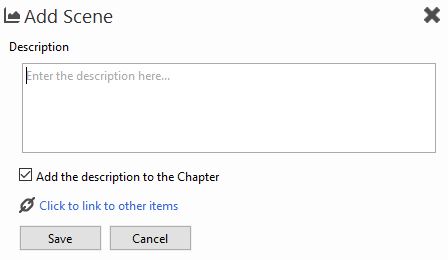
Once added a icon will be added to the left hand column, click on that to view the Scene.
Editing a Scene
To edit a Scene you can either right click on the Scene in the Chapter list and select Edit or view the Scene and press the icon.
You will then see the popup below:

Deleting a Scene
To delete a Scene you can either:
- Right click on the Scene in the Chapter list and select Delete.
- View the Scene and then click on the icon.
Viewing a Plot Outline Item
To view a Plot Outline Item you can either:
- Click on the Plot Outline Item in the Chapter list.
- Right click on the Plot Outline Item in the Chapter list and select View.
- Click on the in the left hand margin for a Chapter.
Adding a new Plot Outline Item
To add a new Plot Outline Item you can do one of the following:
- Right click anywhere in a Chapter tab, select New then Plot Outline Item from the menu.
- Click on the icon in the Chapter toolbar and then Plot Outline Item.
You will then see the popup below:
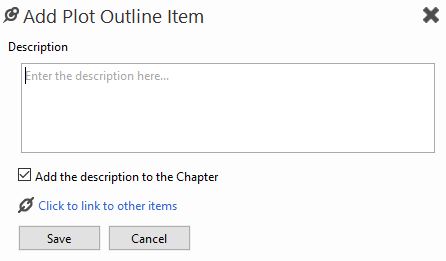
Once added a icon will be added to the left hand column, click on that to view the Plot Outline Item.
Editing a Plot Outline Item
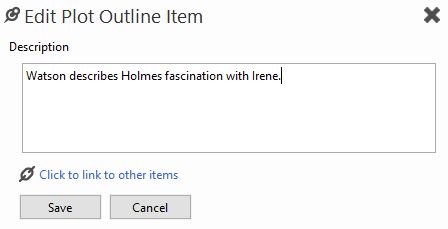
To edit a Plot Outline Item you can either right click on the Plot Outline Item in the Chapter list and select Edit or view the Plot Outline Item and press the icon.
You will then see the popup below:
Deleting a Plot Outline Item
To delete a Plot Outline Item you can either:
- Right click on the Plot Outline Item in the Chapter list and select Delete.
- View the Plot Outline Item and then click on the icon.