User Guide
-
The Basics
Information about the basics you need to know to get started with Quoll Writer.
- Getting Started
- The Project Window
- Your Projects Window
- Projects Overview
- Chapters Overview
- Assets Overview (Characters, Locations, etc.)
- Scenes & Plot Outline Items
- Notes
- Tags & Tagging
- The Idea Board
- Warm-ups
- Searching
- Full Screen Mode
- Linking objects together
- Useful keyboard shortcuts
- Choosing a User Interface Language
- Changing the names of objects
- The Options Panel
- Achievements
-
Advanced Topics
Information about more topics such as importing and exporting. Using the Problem Finder or setting an edit position in a Chapter.
-
Editor Mode
Details about using Editor Mode to work with others to get feedback on your work.
Assets Overview (Characters, Locations, etc.)
Assets allow you to keep track of the people, places, items, races, planets, spaceships, cheeses, widgets, dodads and whatever else you can think of that form a part of your story. The Assets don't need to be part of your story or even directly referenced within it, it's up to you.
Standard Assets types
By default, Quoll Writer comes with the following Asset types built in:
- Characters - designed to represent people within your story. For example, Sherlock Holmes, Harry Potter, John McClane, Inigo Montoya.
- Locations - designed to represent places within your story. For example, 221b Baker Street, Hogwarts, Nakatomi Plaza, Cliffs of Insanity.
- Items - designed to represent items and things within your story. For example, Violin, Elder Wand, Machine Gun, Inigo's Sword.
- Research Items - designed to keep track of research you have found out about your story.
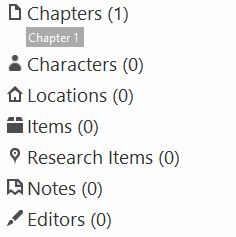
Each of these types have different fields that store different information, relevant to the Asset type, for example the Character type has an Aliases field that allow you to add aliases/other names for the Character. An example, showing the default types in the Project sidebar for a new Project is shown below:
Adding a new Asset
There are a number of ways to ad Assets:
- Right click on the Asset header in the Project sidebar and select Add a new <Asset name>.
- In the toolbar when viewing a Chapter or Asset click on the icon and select the desired Asset type to create.
- When editing a Chapter right click on the tab and select an Asset type to create from the New menu.
- The standard Asset types have keyboard shortcuts that can be used to quickly add new Assets.
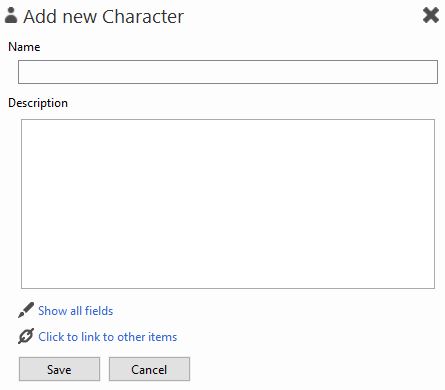
By default when adding a new Asset a popup will appear, as shown below. Note: only the name and description of the Asset will be displayed.
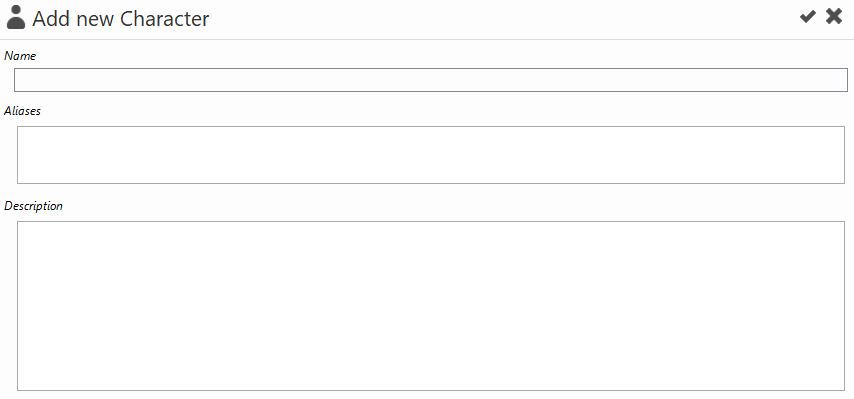
The Show all fields link, when clicked will show the add form in a tab rather than a popup with all fields for the Asset displayed. An example is shown below:
You can also force whether new Assets are adding in popups or in their own tab by using the settings in the Assets section of the Options panel, as shown below:

Editing an Asset
To edit an Asset right click on it in the Project sidebar and select Edit, alternatively while viewing the Asset click the icon in the About section. Editing of Assets always occurs in a tab.
Deleting an Asset
To delete an Asset right click on it in the Project sidebar and select Delete, alternatively while viewing the Asset click the icon in the Asset toolbar.
Documents
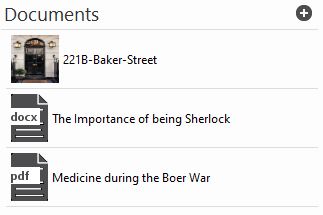
The Documents section allows you to store files, images, etc against a particular Asset. For example, if you are using a real location you might have a PDF file about the location or maybe an image of it. You can use the icon on the section to add new Documents. An example section with some files is shown below:
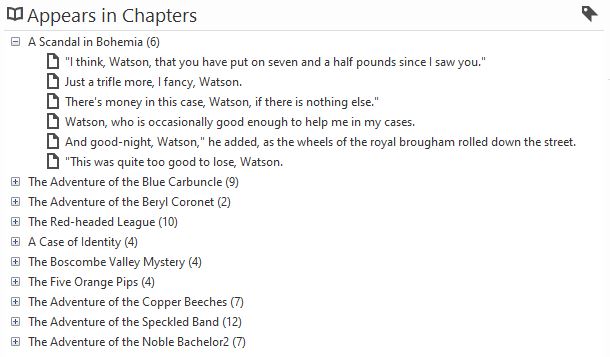
The Appears in Chapters section
The Appears in Chapters section is present for all Assets and displays where the Asset is referenced in each Chapter. Each sentence where the name or one of the aliases for the Asset is used will be displayed. This section is kept up to date as Chapters are modified/added/deleted. An example Appears in Chapters section is shown below.
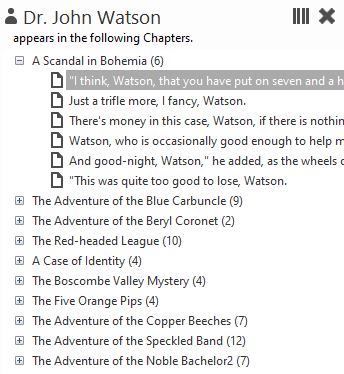
To have more interaction with the section, use the icon to display the results in a sidebar instead. You can then move through the section viewing or changing things as necessary, an example is shown below:
Creating a custom Asset type
To create a new Asset type either right click on the background of the Project sidebar and select Add new Type of Object or right click on an existing Asset section header and again select Add new Type of Object. Once added the type will be available in all of your Projects. The following popup will be displayed:
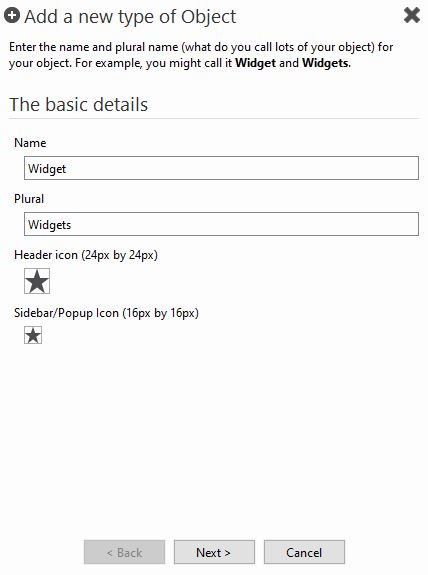
Here you can set what the name of a single of the object is called and the plural value, you can also set what icon images should be used in the Asset tab and sidebar. Click Next > when you're ready to move to selecting fields.
Asset Fields
You can add fields to your Asset type, each field stores some information about your Asset. There are a number of different field types:
- Object name - this is a special field that stores the name of the Asset. Each new type gets an object name field. Only one object name field can be added and it cannot be removed.
- Object description - another special field (due to its special handling within the layouts), this is a multi-line text field that should be used to describe the Asset. Again type can only have one of these.
- Object image - another special field (due to its special handling within the layouts), this is an image field that can be used to display a picture of the Asset.
- Single-line text - a single line of text.
- Multi-line text - a mutli-line text field.
- Image - displays an image (duh!).
- List - lets you select from a preset list of items.
- Date - a date field.
- Number - a number field, for example the age of a Character.
- Web page - a link to a web page.
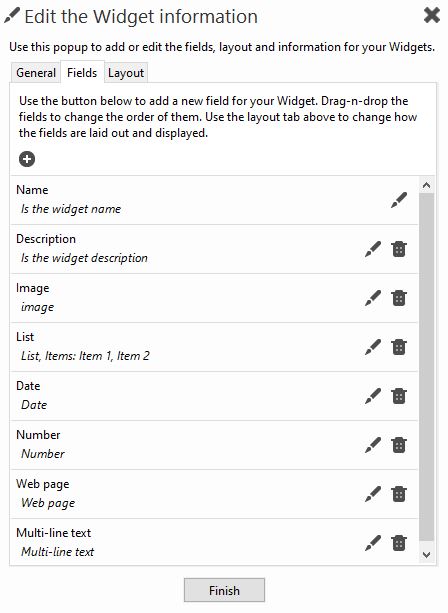
The Single-line text and Multi-line text fields can also be marked as being other names/aliases for the Asset meaning that values specified in there will be used as names for the Asset when finding snippets for the Appears in Chapters section and when linking to another object in their description. Each line of multi-line fields can be displayed as bullet points if desired. An example Asset, with all field types added is shown below:
The ordering of the fields can be changed by dragging them up and down in the list. Note: field ordering only applies to certain layouts.
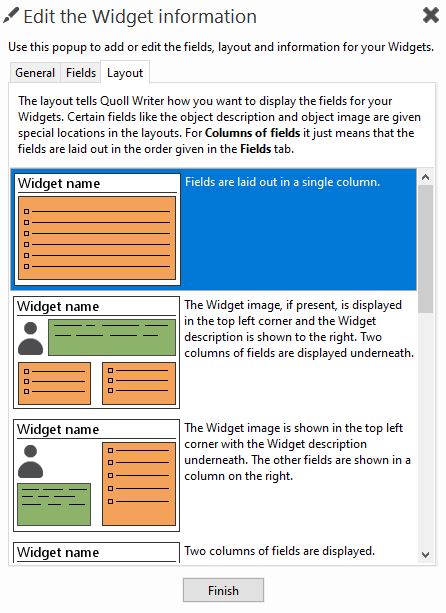
Field Layouts
The fields can be presented or laid out in a number of different ways. There are 9 different layouts available, use the Layout tab while editing the Asset information to select a layout you wish to use. Each layout highlights different information, usually the special Object fields such as the Object description or Object image. Each layout has pros and cons so you should pick the one that best fits your needs. The layout selector is shown below:
Editing Asset types
To edit the information about the Asset either right click on the section header for the type and select Edit the <Asset> information/fields, or select the type from the list in the Assets section of the Options panel and click Edit.
Removing Asset types
To remove an Asset type right click on the section header for the type and select Delete all <Assets>, the following popup will be displayed:
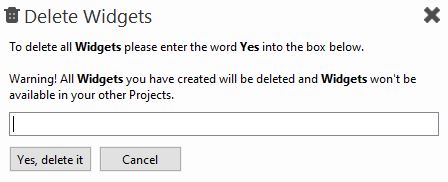
Once deleted the type will no longer be available to any of your Projects.