User Guide
-
The Basics
Information about the basics you need to know to get started with Quoll Writer.
- Getting Started
- The Project Window
- Your Projects Window
- Projects Overview
- Chapters Overview
- Assets Overview (Characters, Locations, etc.)
- Scenes & Plot Outline Items
- Notes
- Tags & Tagging
- The Idea Board
- Warm-ups
- Searching
- Full Screen Mode
- Linking objects together
- Useful keyboard shortcuts
- Choosing a User Interface Language
- Changing the names of objects
- The Options Panel
- Achievements
-
Advanced Topics
Information about more topics such as importing and exporting. Using the Problem Finder or setting an edit position in a Chapter.
-
Editor Mode
Details about using Editor Mode to work with others to get feedback on your work.
Chapters Overview
The Chapter, as you might expect, holds the text for your story. Each Chapter has it's own tab in Quoll Writer, an example is shown below:
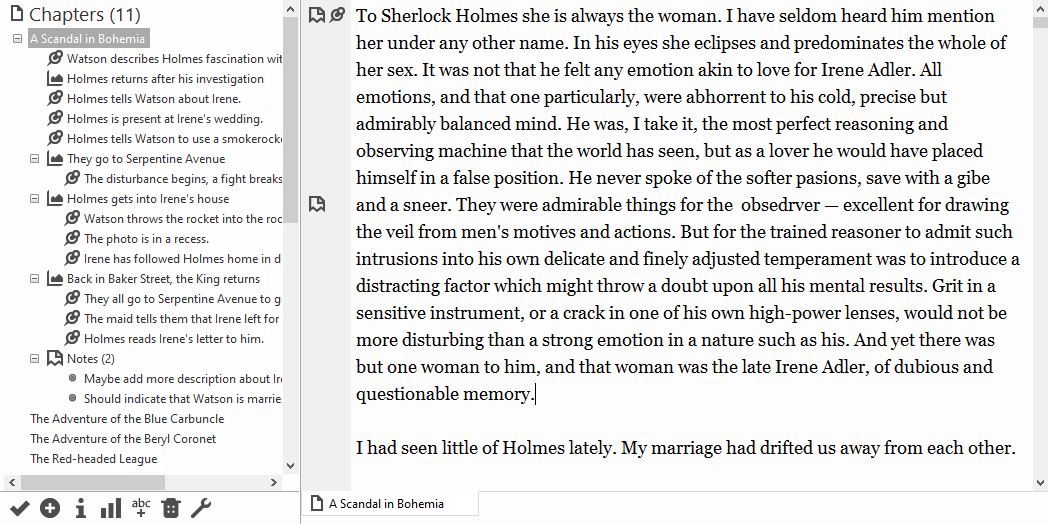
On the left is the Project sidebar, this is where all the Chapters for your story are listed, it is also where you can manage the Chapters including moving them up and down in the list via drag-n-drop.
At the bottom left is the toolbar which allows easy access to functions related to the Chapter, such as enabling the spellcheck. As with most other items in Quoll Writer, right click on the Chapter name in the Chapters list to see the menu.
Scenes and Plot Outline Items
When you have added one or more Scenes and Plot Outline Items then they will be displayed in the Chapters list under the Chapters, for example:
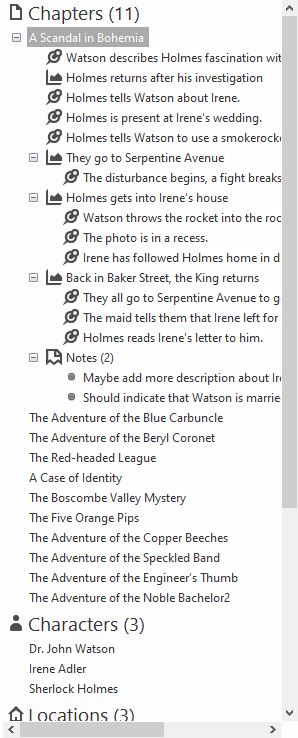
As with each Chapter, both Scenes and Plot Outline Items have their own menu that can be accessed by right clicking on the item.
The Chapter Tab
Each Chapter has it's own tab to enable editing of the text. The tab consists of two parts, on the left the light gray section holds icons to indicate where in the text you have added Scenes, Plot Outline Items and Notes, for example:
To view any of the items just click on the associated icon in the left hand column.
Right click on the left hand column to access the menu which allows you to add new items into the text.
The Toolbar
In the bottom left corner is a toolbar of quick access functions/menus that relate to the currently displayed Chapter. The toolbar is shown below:

The icons have the following functions:
- - click this to save the Chapter text.
- - click this to view the New menu that allows you to add new objects.
- - click to view the Chapter Information sidebar that provides access to the Chapter Goals, Plan and description.
- - click to view the word counts sidebar.
- - click to turn the spellchecker on or off.
- - click to delete the Chapter.
- - click to view the Tools menu, that provides access to the Find, the Problem Finder, the Text Properties and Print.
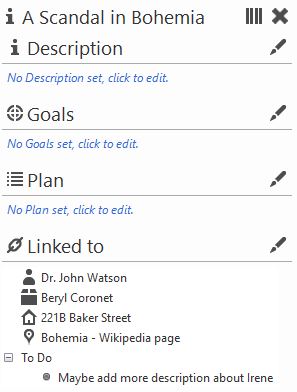
Chapter description, Goals and Plan
You can also record a description, Goals and a Plan for a Chapter, to access the Chapter information just right click anywhere on the the Chapter in the Chapter list and select View Chapter Information or use the button in the Chapter toolbar, a sidebar such as the one below will be displayed:
Adding a new Chapter
There are a number of ways of adding a new Chapter:
- Right click on an existing chapter in the Chapters list and select Add New Chapter Below. The new Chapter will be added below the Chapter you right clicked on.
- While viewing a chapter right click anywhere on the Chapter tab and select Chapter from the New sub-menu. The new Chapter will be added below the Chapter in the Chapters list.
- Right click on the Chapters list header and select Add New Chapter.
- Click on the button in the toolbar and select Chapter.
- Use the keyboard shortcut, Ctrl+Shift+H.
The following popup will then be displayed:

Enter the name of the new Chapter and click Save, optionally you can link the Chapter to other items.
Once saved the new Chapter will be added to the Chapters list.
Editing Chapters
To edit the Chapter right click on the chapter in the Chapters list and click Edit Chapter alternatively click on the Chapter in the Chapters list.
Moving Chapters
Chapters can be moved in the Chapters list by clicking on them and then dragging them with the mouse up and down the list.
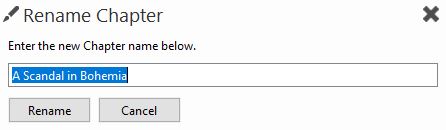
Renaming a Chapter
To rename a Chapter right click on the Chapter in the Chapters list and click Rename Chapter, the following popup will be displayed:
Deleting a Chapter
Warning! When a Chapter is deleted it cannot be retreived. This warning is not be taken lightly, once the Chapter is gone then it is gone so please be sure before deleting.
To delete a Chapter you do one of the following:
- Right click on a chapter in the Chapters list and select Delete Chapter.
- Click on the icon in the Chapter toolbar.
You will then see the following popup.
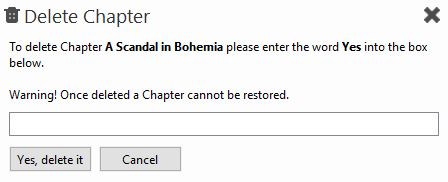
You must then enter the word Yes to confirm the deletion.
Saving the Chapter
To save the Chapter text, you can do one of the following:
- Configure the Chapter Auto-save which will then save the Chapter text for you at regular intervals.
- Use the keyboard shortcut, Ctrl+S to save the text manually.
- Right click anywhere in the Chapter tab and select Save Chapter.
- Click on the icon in the Chapter toolbar.
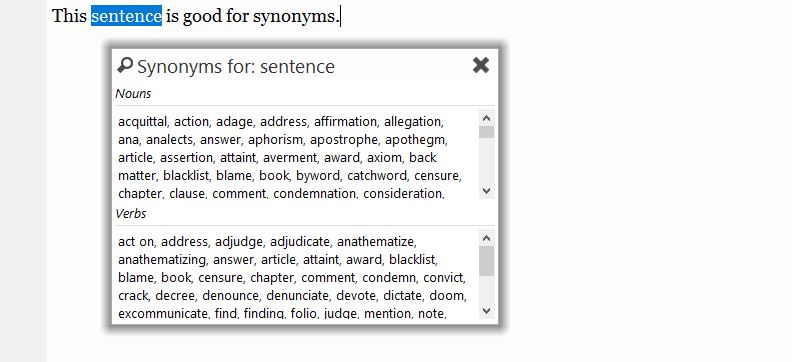
Looking up synonyms
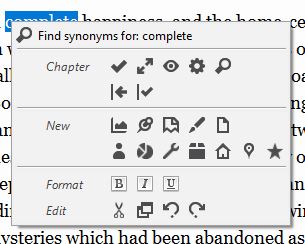
You can look up synonyms by right clicking on the word and clicking on Find Synonyms for: -word-. A popup similar to the one below will then be displayed:
Bold, italic and underline
Quoll Writer supports bold (Ctrl+B), italic (Ctrl+I) and underline (Ctrl+U) text styles. Just highlight the text you wish to style and use the appropriate keyboard shortcut or right click on the text and use the relevant menu item.
Changing the Text Properties
To change how the Chapter text and background looks, click on the icon in the Chapter toolbar and then select Edit Text Properties or use the keyboard shortcut Ctrl+E. The following sidebar will then be displayed:
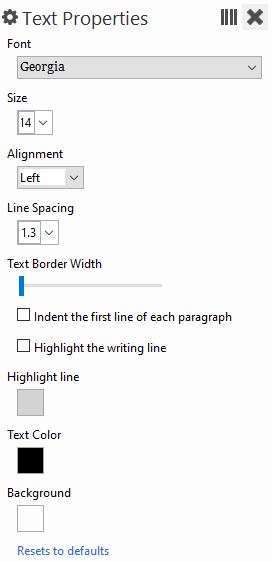
As you change the values the text for the currently displayed chapter will change to indicate what the new font, line spacing etc will look like. Note: the changes will apply to all Chapters.
Section breaks
To add a section break (three *'s) use the keyboard shortcut Ctrl+Enter or type *** into the text.
Playing a sound when a key is pressed
To play a sound when a key is pressed, go to the How things look & sound section of the Options panel, look for the following settings:

A default typewriter sound is available but you can also specify your own sound.
Configuring Chapter Auto-save
Auto-saving of Chapters is enabled by default. To change the settings related to auto-saving of Chapters go to the Editing Chapters section of the Options panel. You can then enable or disable the auto-saving and select the time interval between saves.
Printing a Chapter
To print the Chapter text, you can do one of the following:
- Click on the icon in the Chapter toolbar and then Print Chapter.
- Use the keyboard shortcut, Ctrl+P.
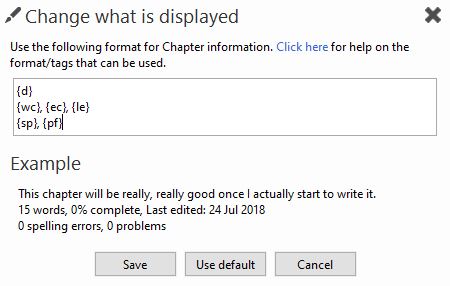
Changing the Chapter preview information
When you move your mouse over a chapter in the Chapter list a popup will appear with information about that Chapter. By default Quoll Writer will display some basic information about the Chapter such as word count and number of spelling errors. You can also modify what is displayed, in the How things look & sound section of the Options panel, click on Change what is displayed. The following popup will be displayed:
You can use basic HTML tags to provide formatting for the information, however it is recommended that you only use the following HTML tags:
- <b></b> - bold the text
- <i></i> - italicize the text
- <u></u> - underline the text
The following special values (tags) can be used to output certain information about the Chapter.
- {d} - the full description of the Chapter
- {df} - the first line of the description of the Chapter
- {fl} - the first line of the Chapter
- {wc} - the word count, example: 1,234 words
- {sp} - the number of spelling errors in the Chapter, example: 15 spelling errors
- {pf} - the number of Problem Finder problems there are in the Chapter, example: 35 problems
- {le} - date the Chapter was last edited, example: Last Edited: 23 Jun 2015
- {ec} - the edit complete %, i.e. how much of the Chapter has been marked as edited, example: 25% complete
- {r} - the readability, example GL: 6, RE: 80, GF: 8 (where GL is the Flesch Kincaid Grade Level, RE is the Flesch Reading Ease and GF is the Gunning Fog Index) See the readability page for more details.
The default format used in Quoll Writer is:
{d} {wc}, {ec}, {le} {sp}, {pf}
Example:
This chapter is going to be about stuff happening. 12,123 words, 23% complete, Last Edited: 23 Jul 2015 15 spelling errors, 8 problems
For just the description and last edited date use:
{d} {le}
Example:
This chapter is going to be about stuff happening. Last edited: 23 Jul 2015
Compressing the Chapter context menu
In the Editing Chapters section of the Options panel the option Compress the Chapter right click menu allows you to compress the menu and removes most of the text making it look like the following: