User Guide
-
The Basics
Information about the basics you need to know to get started with Quoll Writer.
- Getting Started
- The Project Window
- Your Projects Window
- Projects Overview
- Chapters Overview
- Assets Overview (Characters, Locations, etc.)
- Scenes & Plot Outline Items
- Notes
- Tags & Tagging
- The Idea Board
- Warm-ups
- Searching
- Full Screen Mode
- Linking objects together
- Useful keyboard shortcuts
- Choosing a User Interface Language
- Changing the names of objects
- The Options Panel
- Achievements
-
Advanced Topics
Information about more topics such as importing and exporting. Using the Problem Finder or setting an edit position in a Chapter.
-
Editor Mode
Details about using Editor Mode to work with others to get feedback on your work.
Importing a File
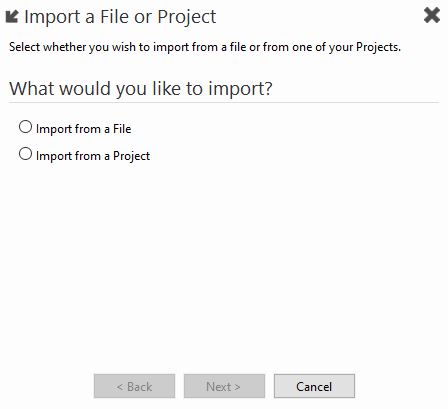
You can import information into your Project by using the import function. Information can be imported from a MS Word .docx file or from one of your other Projects.
To start the import process select Import File/Project from the menu. You will then see the popup below:

Importing from a File
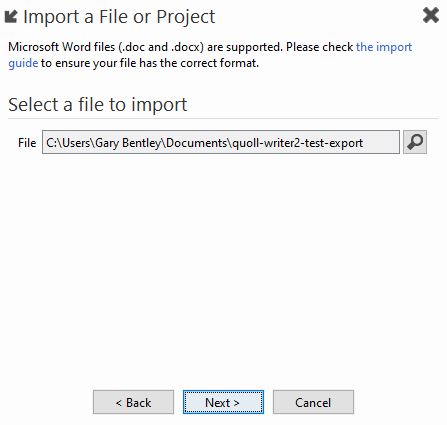
When importing from a MS Word .docx file only Chapters and Assets can be imported.

The import uses the Heading 1 (or Heading1) style to indicate the name of an item. In addition for Assets you should prefix the name with the object name and a colon, for example:
- Character: Sherlock Holmes
- Location: 221a Baker Street
- Item: Beryl Coronet
If the <Asset>: prefix is not present in the Heading 1 text then the text is assumed to be the name of a Chapter.
All the text up to the next Heading 1 is assumed to be the Chapter content or the description for Asset.
An example document outlining the styles and prefixes to use can be found here.
Importing from a Project
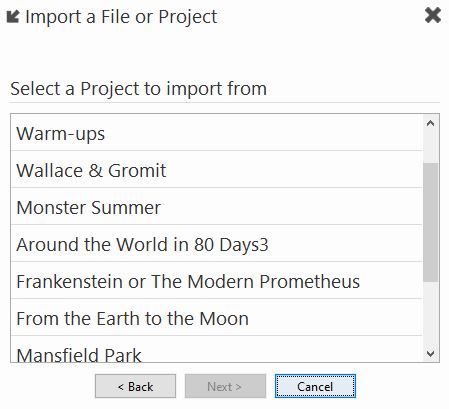
You can also import Chapters/Assets from other Projects, to do so select the Import from a Project option. A list of your Projects will then be displayed:

Selecting the items you wish to import
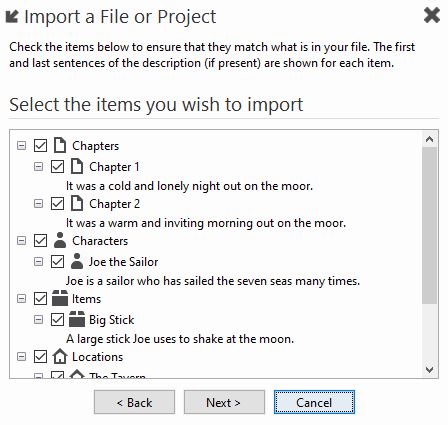
After selecting a file or Project you can select the items you wish to import. A preview screen is displayed indicating the items that can be imported. An example preview is shown below:

The first line from the description for each item is displayed, use the checkboxes to select the items you wish to import (they are all selected by default).
Create a new Project or import into the current Project
The final step is to decide what you wish to do with the selected items, either create a new Project or bring the items into your current Project. Note: if any of the Assets already exist in your Project then the description from the will be appended to the end of the Asset description.